> ## Documentation Index
> Fetch the complete documentation index at: https://docs.parchmenthealth.io/llms.txt
> Use this file to discover all available pages before exploring further.
# Post-Integration Guide
> What happens after successfully integrating with Parchment Health APIs - moving from sandbox to production
## Overview
Congratulations on successfully integrating with Parchment Health APIs! This guide outlines the essential steps to transition from sandbox to production, ensuring a smooth deployment for your users.
**Timeline**: The entire process from video submission to production launch typically takes 3-5 business days, depending on the complexity of your integration and review feedback.
***
## Step 1: Integration Demonstration Video
Once you're satisfied with your sandbox integration, you'll need to create a comprehensive demonstration video showing the complete user journey.
### 📹 Video Requirements
Your demonstration video must cover the following workflow in order:
#### 1.1 Credentials Setup
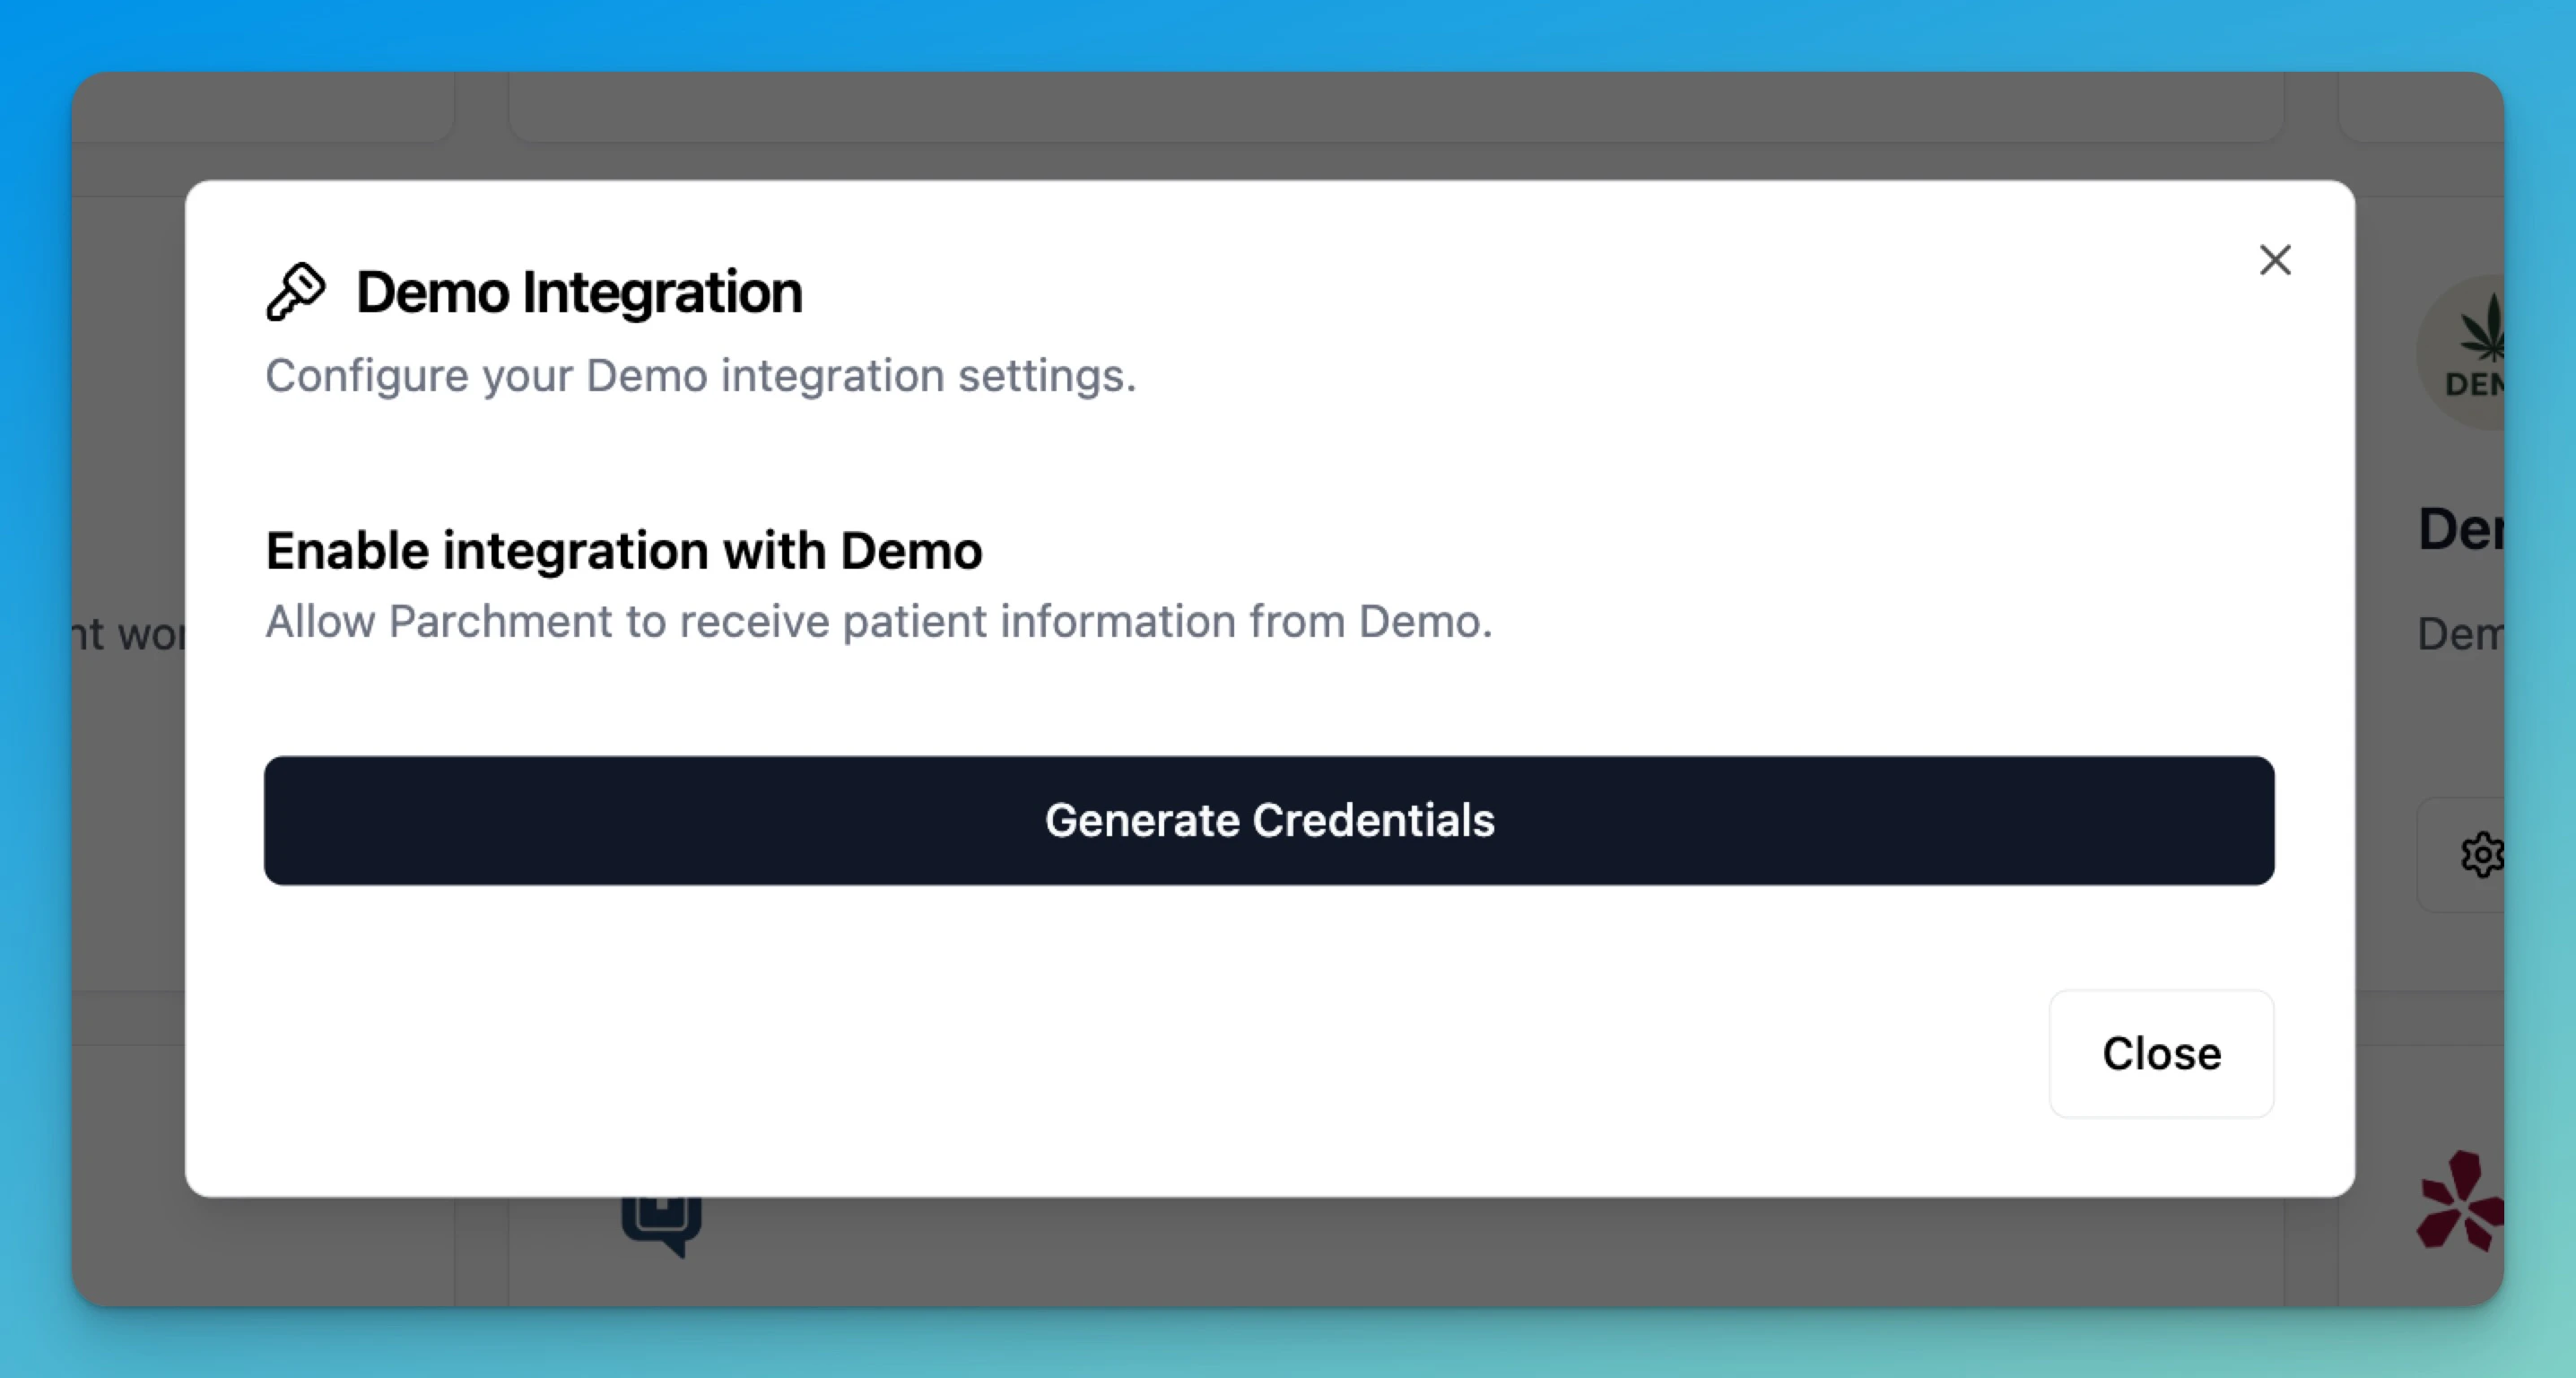
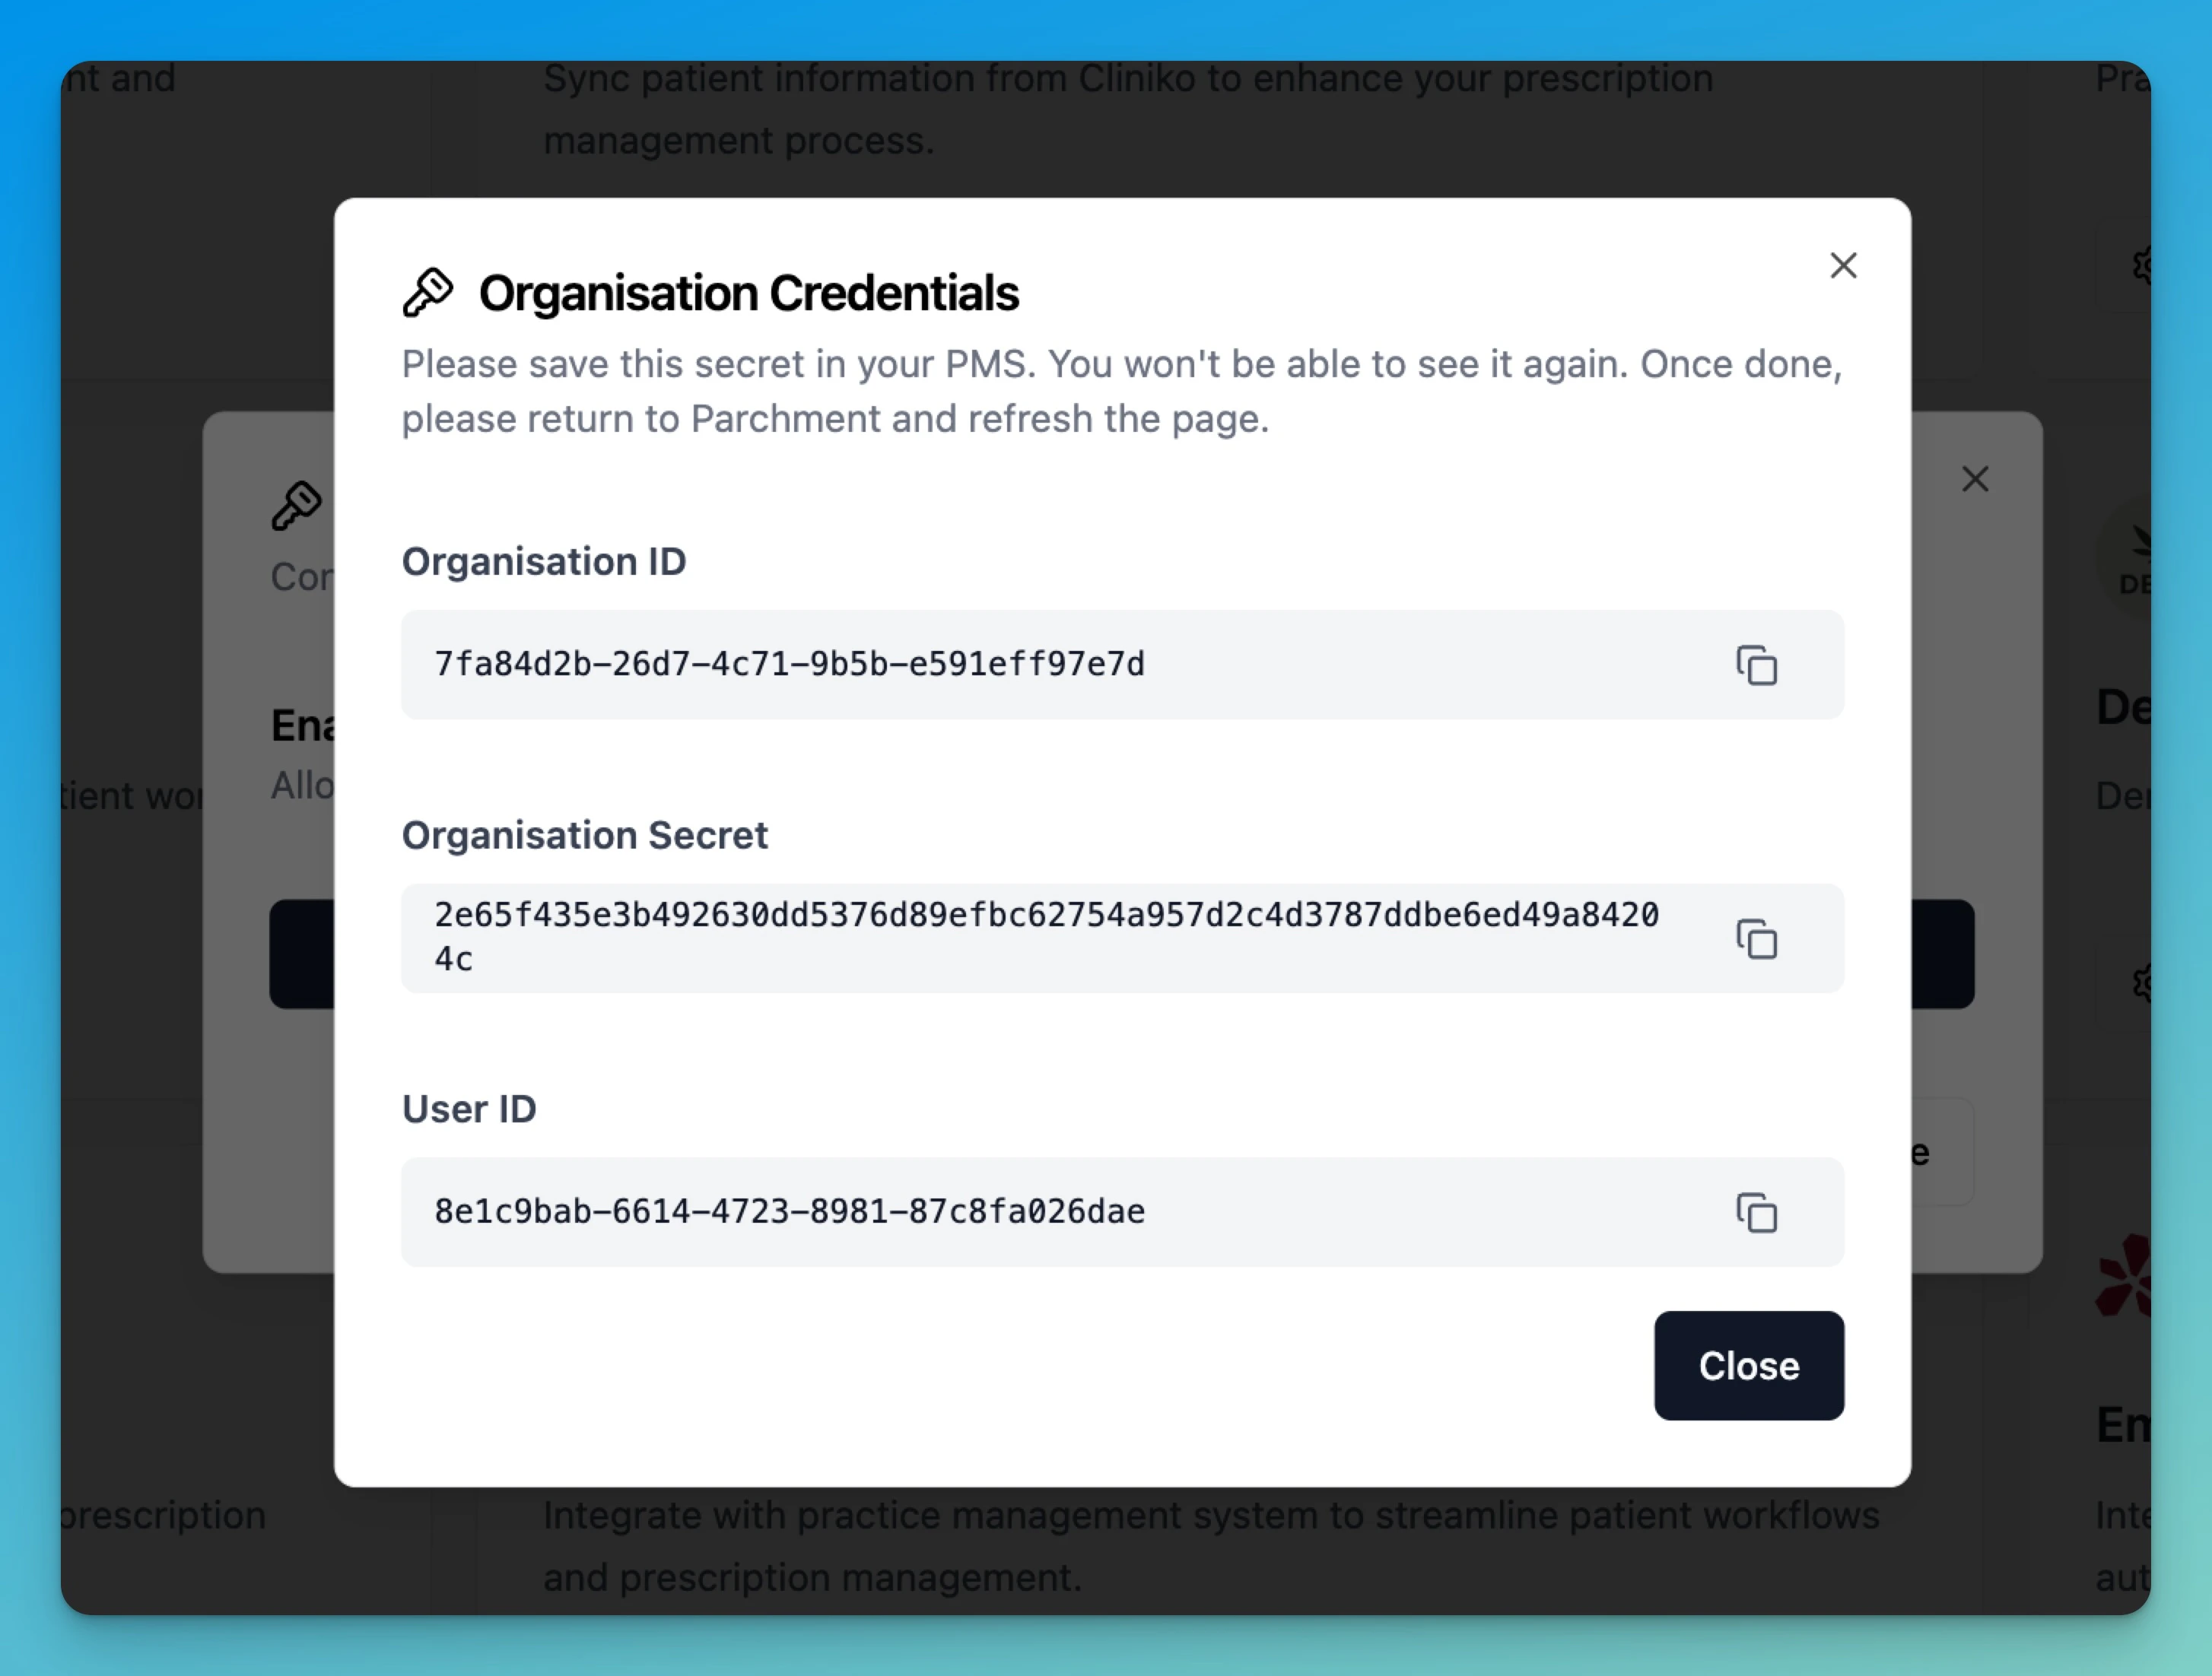
* Navigate to **Settings > Organisation > Edit > Partner Integrations** in your sandbox environment
* Copy the partner credentials (organisation\_id, organisation\_secret and user\_id)
* **Note**: You don't need to blur out the credentials as it's a sandbox environment
#### 1.2 PMS Integration Configuration
* Open your Practice Management System (PMS)
* Navigate to the Parchment integration settings
* Enter the sandbox credentials you copied
* Save the configuration
#### 1.3 Integration Validation
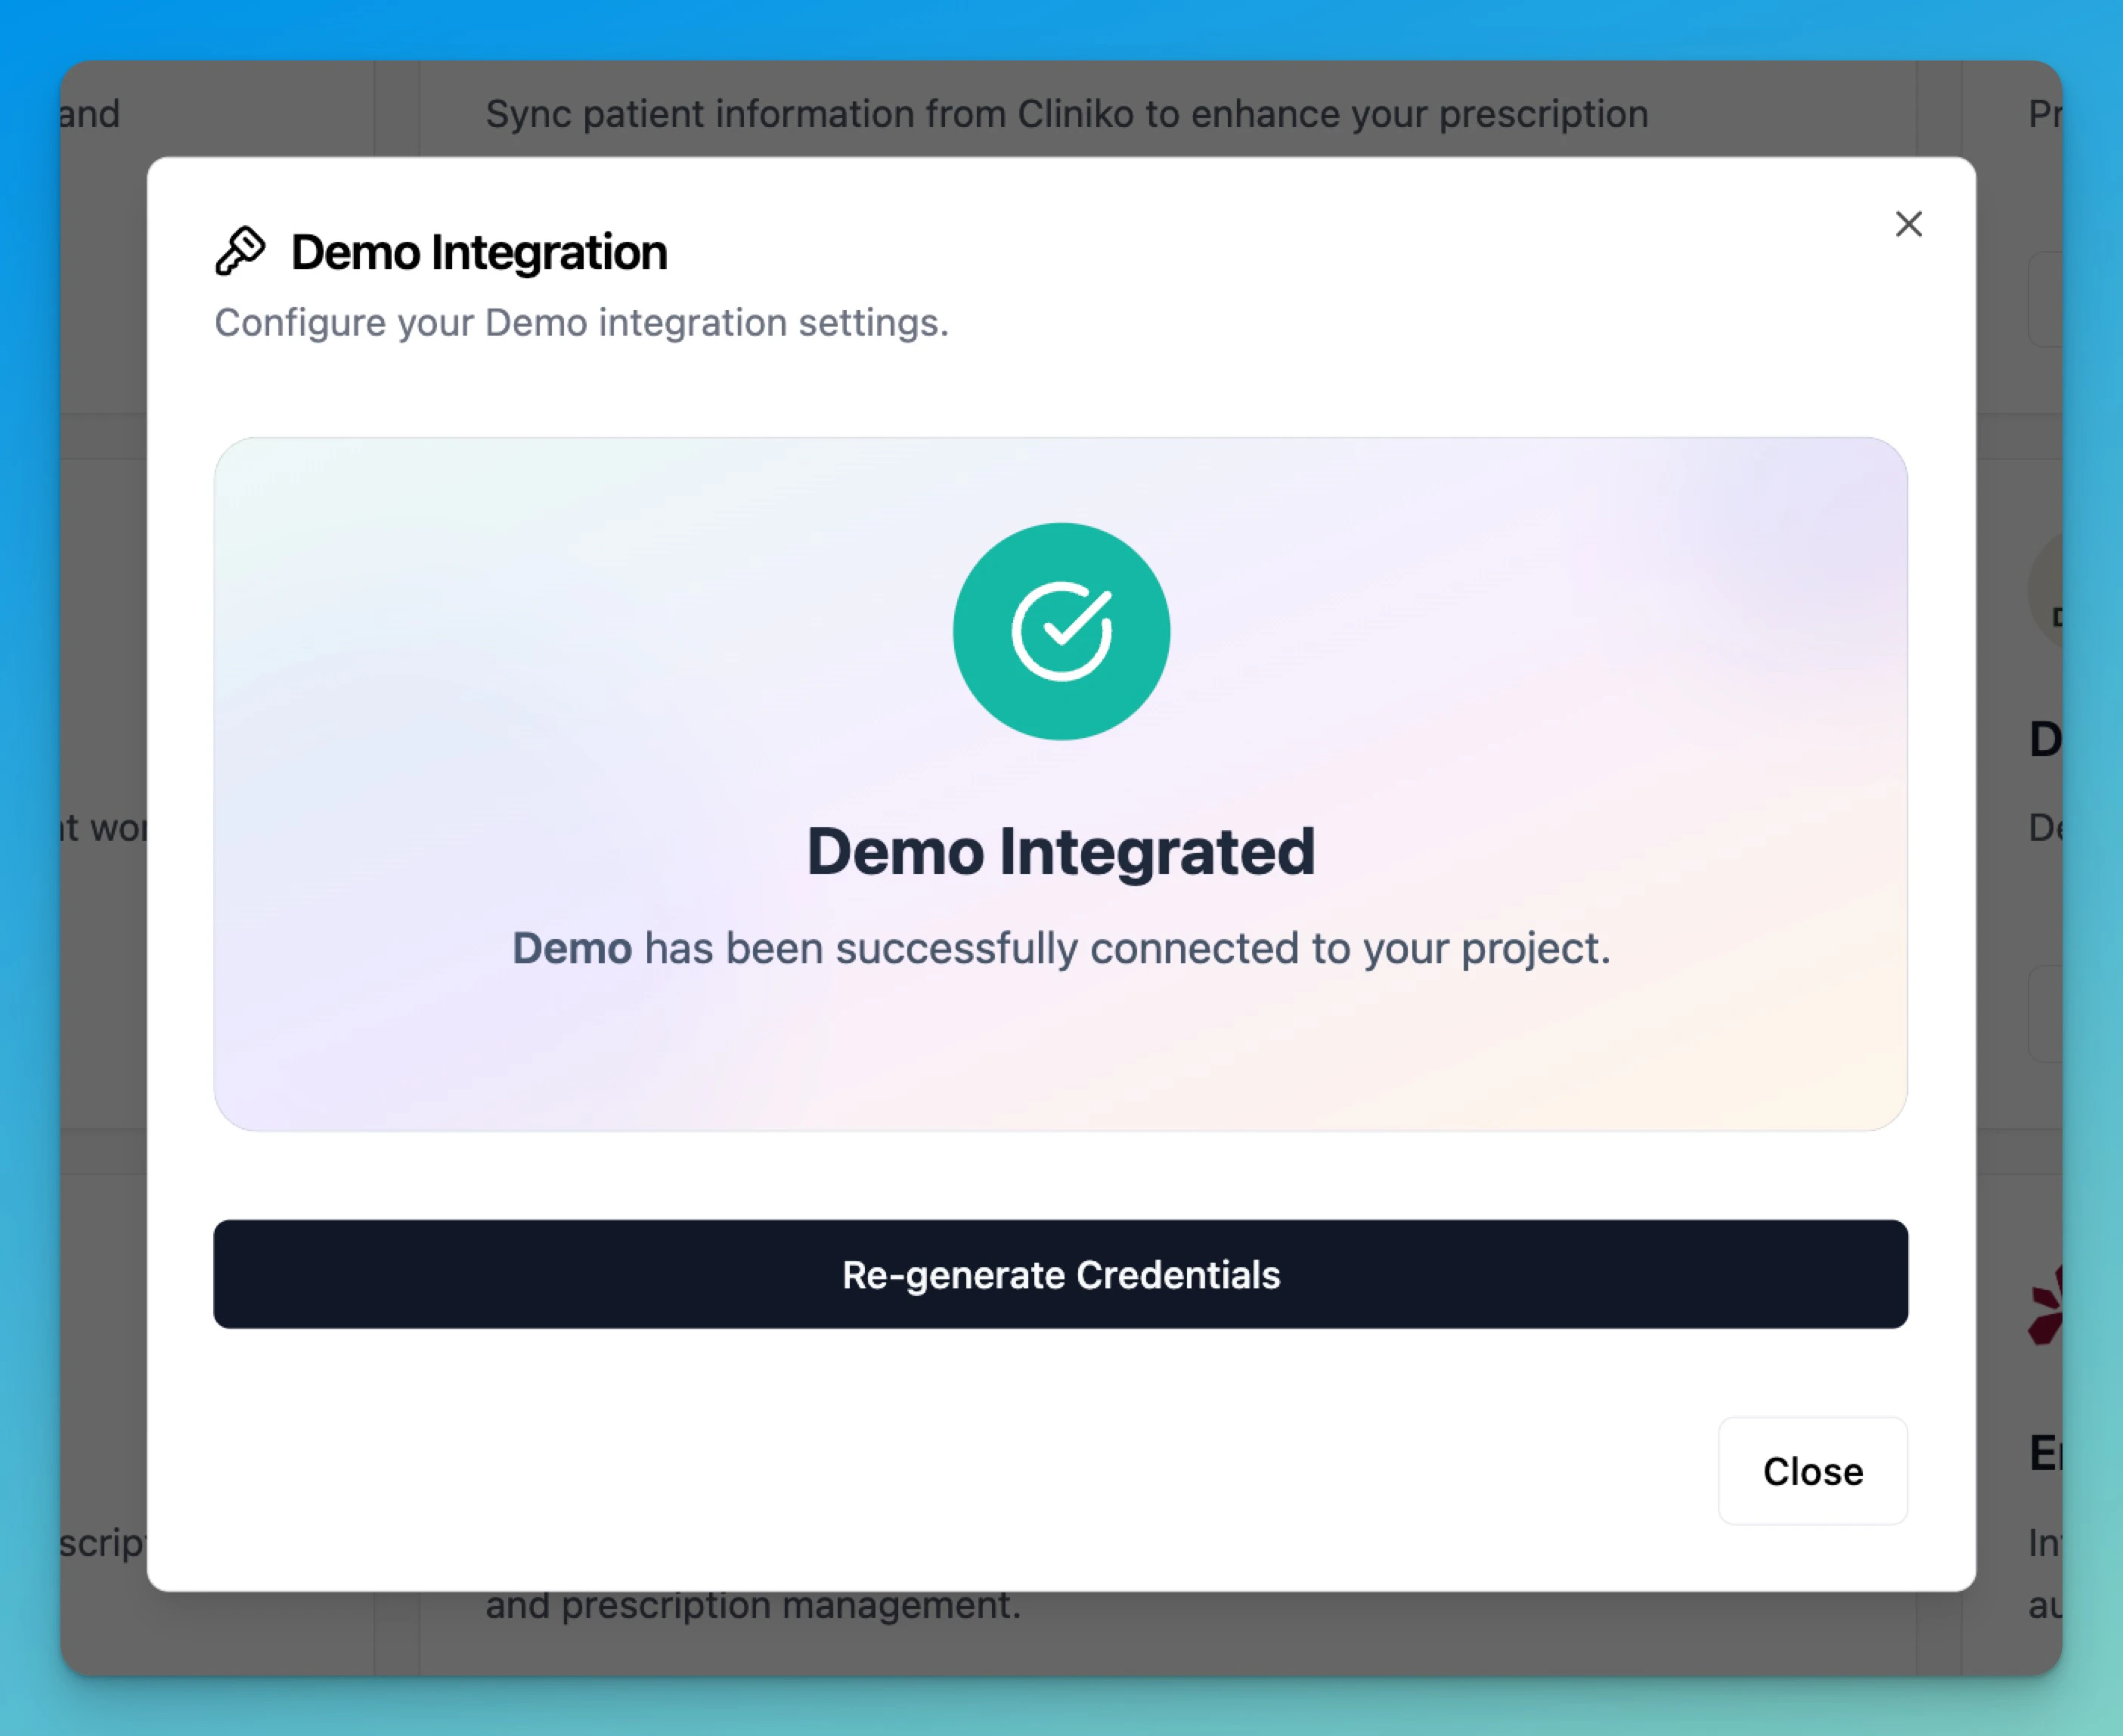
* Return to Parchment's integration page
* Refresh the page if you need to
* **Demonstrate**: The integration was successful ✅ (this confirms the `/validate` endpoint is working correctly)
* Show any success messages or status indicators
#### 1.4 Patient Workflow Demonstration
* Create a **new** patient in PMS (you need to use test data for the xls doc shared previously)
* Click the prescription button in PMS
* **Demonstrate**: The user is taken to the patient in Parchment
#### 1.5 Prescription Management
* Create a prescription for the patient in Parchment
* **Demonstrate**: The prescription data is correctly displayed in PMS
### 📝 Video Best Practices
* **Duration**: Keep the video between 5-15 minutes
* **Resolution**: Record in at least 1080p for clarity
* **Format**: MP4 or MOV format preferred
***
## Step 2: Video Review Process
### 2.1 Submission
Submit your demo video through one of the following methods:
* **Preferred**: Upload to a secure sharing platform (Google Drive, Dropbox, etc.) and share the link
* **Alternative**: Direct email attachment (if file size permits)
### 2.2 Review Timeline
**1-2 business days** - Technical review of integration functionality
**1 business day** - Any issues or questions communicated back to you
**1 business day** - Approval for production credentials once all requirements are met
***
## Step 3: Production Credentials & Security
### 3.1 Security Assessment
Before receiving production credentials, we need to understand your security practices:
#### Required Information:
**We need to know:**
* How production API credentials will be stored (environment variables, secure vault, etc.)
* Which team members/roles will have access to these credentials
* Your authorized user's security posture (MFA enabled etc)
* Whether credentials will be stored in version control (should be **NO**)
**Please provide details on:**
* Server security measures and access controls
* Network security (VPNs, firewalls, etc.)
* Data encryption practices (in transit and at rest)
**Documentation needed for:**
* HIPAA compliance measures (if applicable)
* Audit logging and monitoring systems
* Incident response procedures
### 3.2 Authorized Personnel
Provide the **email address** and **role** of the person who will:
* Receive the production credentials securely
* Be responsible for credential management
* Serve as the primary technical contact for production issues
### 3.3 Secure Credential Delivery
Production credentials will be delivered via:
* **1Password** that will be sent to authorised user's email and expires in 7 days, or
* **Secure Email** if you have a preferred solution we could use
**Never** share production credentials via unencrypted channels (Slack, SMS, regular email, etc.)
***
## Step 4: Production Launch
### 4.1 Integration Tile Activation
* Your integration tile will be made **live** in Parchment's production environment
* You'll receive email confirmation when the tile is active
### 4.2 User Onboarding Flow
Your users can now sign up and start using Parchment:
Users visit [portal.parchment.health](https://portal.parchment.health) and create an account
Complete their organisation and practice details
Navigate to Settings > Integrations and find your PMS tile
Copy credentials into your PMS
Test the connection (tile should turn green)
Begin using Parchment for electronic prescriptions (once prescriber details have been validated)
***
### Useful Resources
* [Partner Integration Guide](./partner-integration-guide) - Complete technical integration guide
* [API Reference](./api-reference/introduction) - Detailed API documentation
* [FAQ](./docs/faq) - Common questions and troubleshooting